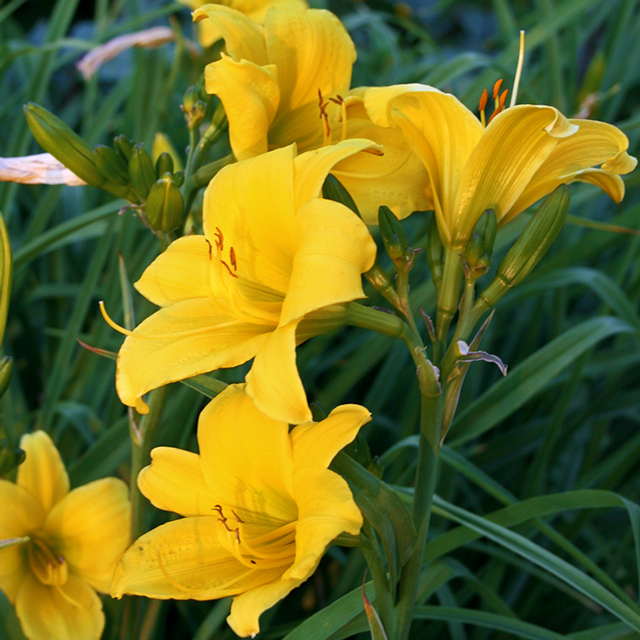
Daylilies are a true workhorse in the garden, they are easy to grow, come in an array of colors and many varieties bloom for nearly the entire summer. For a beginner gardener, planting daylilies is a great choice as you will not be disappointed in your efforts and the results produced by these garden gems. Daylilies are not true lilies, like a Stargazer or Casablanca Lily, but do have lily shaped blooms and certain varieties are fragrant. Now that we have gushed over all the great things about daylilies, we would like to get into the details of how, when and why you should divide your daylilies.
WHY TO DIVIDE DAYLILIES
Daylilies can be grown easily in any sunny location with well-draining soil; they will last for years and years. If you are an experienced daylily gardener, you may have noticed that your daylilies stopped blooming after they had been planted for 5 or more years. When your daylilies stop blooming and the foliage yellows mid-season, it is a good indication that the plants need to be divided. Daylilies can be divided before you notice the blooms becoming sparse, for example you may want to divide them to increase the number of plants in your garden, or maybe you want to share them with your friends and family. Typically, hybrid daylilies should be divided every 3-5 years.
 WHEN TO DIVIDE DAYLILIES
Daylilies can be divided a couple different times of the year; early spring, after they bloom in summer, or in fall. If you plan on dividing them in early spring they may not bloom that same season, as they are gathering energy to grow new roots and re-establish. If you wait until fall to divide your daylilies you will want to cut the foliage back to 5” above ground, in a fan shape similar to how you divide Bearded Iris. If you decide to divide your daylilies in summer after they bloom, be sure to provide plenty of water after you re-plant the new divisions.
HOW TO DIVIDE DAYLILIES
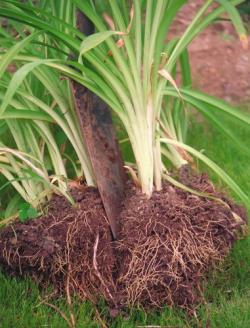
To divide daylilies, you will want a sharp spade and fork, if a spade is not available a sharp shovel for digging will also work. You will want to dig up the entire clump of the plant and be careful around the roots to avoid excess damage to them. Once you have the clump above ground remove as much excess soil from the roots as possible, you may wash off the roots if you would like. You should be able to see smaller sections that you can divide by pulling the clumps apart, or use a sharp knife, such as a horri horri knife. Once you have all the divisions you can get from the clump, you will want to re-plant the roots in the same way you would plant any bare root perennial. Be sure to water well after planting and provide natural wood mulch to help retain moisture.
While daylily blooms may last for only one day, they continue to produce new blooms each day, making them a very rewarding, easy to grow perennial.


